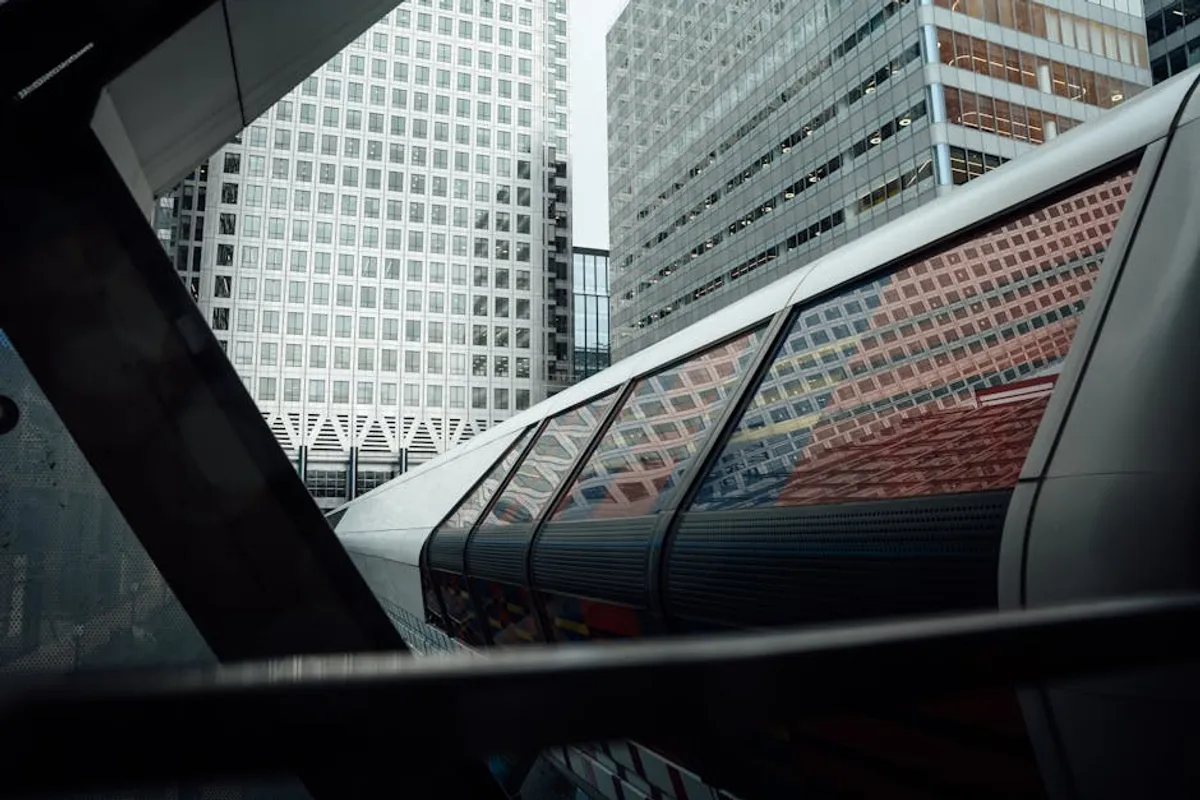
Urban architecture offers a compelling subject for photographers, blending monumental scale with intricate detail, historical context with modern design. For those drawn to the lines, forms, and textures of the built environment, urban photography demands a specific approach to equipment, technique, and post-processing. This guide outlines the practical considerations and creative strategies necessary to translate your appreciation for architecture into impactful imagery, focusing on methods that capture both the grandeur and the subtle nuances of city structures.
Essential Gear for Architectural Urban Photography
The right equipment forms the foundation for successful architectural photography, enabling you to manage perspective, light, and detail effectively.
Lens Choices for Urban Architecture
Selecting appropriate lenses is critical for managing perspective and capturing the full scope of architectural subjects.
- Wide-Angle Lenses (16-35mm equivalent): Essential for capturing the expansive scale of buildings and cityscapes. These lenses allow you to include more of the structure and its surroundings within the frame, providing context.
- Tilt-Shift Lenses (24mm, 45mm, 90mm equivalents): These specialized lenses are invaluable for correcting perspective distortion, specifically converging verticals, which occur when shooting tall buildings from ground level. The "shift" function allows you to move the lens parallel to the sensor, maintaining parallel lines in your subject. The "tilt" function can be used for selective focus effects.
Best for: Professional architectural work, eliminating keystoning without post-processing, creative depth-of-field manipulation.
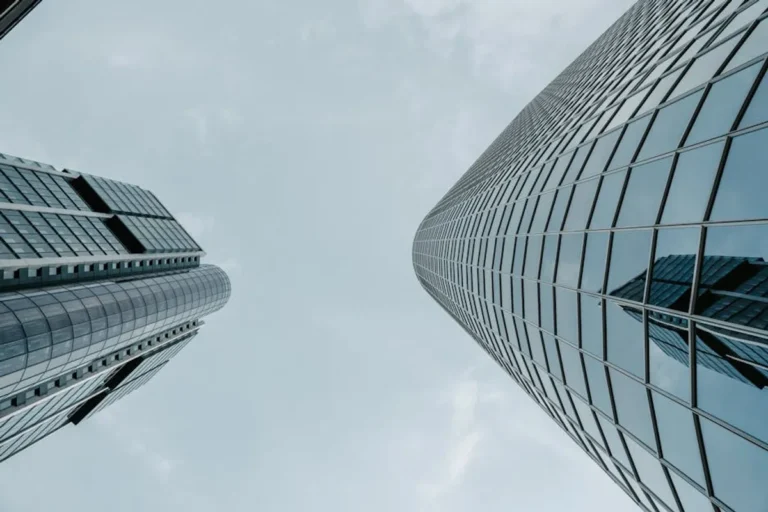
- Standard and Telephoto Lenses (50mm, 70-200mm equivalent): While wide-angles capture the whole, standard and telephoto lenses are crucial for isolating specific architectural details, patterns, or textures. A 70-200mm, for example, can compress perspective and highlight a building's facade details or a distant skyline element.
Tripods and Stabilization
A sturdy tripod is non-negotiable for architectural photography, particularly in urban environments where light conditions vary and sharp details are paramount.
- Stability for Sharpness: Eliminates camera shake, ensuring maximum sharpness, especially when using slower shutter speeds in low light or at smaller apertures for greater depth of field.
- Precision Composition: Allows for meticulous framing and leveling, critical for architectural subjects where straight lines and accurate geometry are key.
- Long Exposures: Enables techniques like blurring moving elements (clouds, traffic) to create a sense of dynamism against static architecture, or capturing night scenes with minimal noise.
Filters and Accessories
Certain filters enhance image quality and open creative possibilities.
- Polarizing Filters (CPL): Reduces glare and reflections from glass, water, and non-metallic surfaces. It also deepens blue skies and saturates colors, making buildings stand out against the urban backdrop.
- Neutral Density (ND) Filters: These reduce the amount of light entering the lens, allowing for longer exposures in bright conditions. Useful for smoothing water, blurring crowds, or creating ethereal cloud movement around static structures.
- Remote Shutter Release: Prevents camera shake when tripping the shutter, particularly important for long exposures on a tripod.
Mastering Composition and Perspective
Beyond technical gear, a strong understanding of composition and perspective transforms a simple snapshot into a compelling architectural photograph.
Lines, Shapes, and Patterns
Architecture is inherently geometric. Look for leading lines that draw the viewer's eye through the frame, repeating patterns that create rhythm, and strong shapes that define the structure. Symmetry, when present, can be powerful, but asymmetry can also be used to create tension and interest.
Perspective Correction Techniques
Converging verticals are a common challenge when photographing tall buildings. Addressing this ensures your architectural subjects appear upright and true to their form.
- In-Camera with Tilt-Shift Lenses: The most effective method, as it corrects perspective optically, preserving image quality.
- Post-Processing: Software tools like Adobe Lightroom or Photoshop offer robust perspective correction features (e.g., Upright tool, Transform panel). While effective, this involves stretching pixels, which can slightly degrade image quality, especially at the edges.
- Shooting Level: Whenever possible, position yourself at a distance or elevation that allows you to shoot the building straight on, minimizing the need for correction.
Capturing Scale and Context
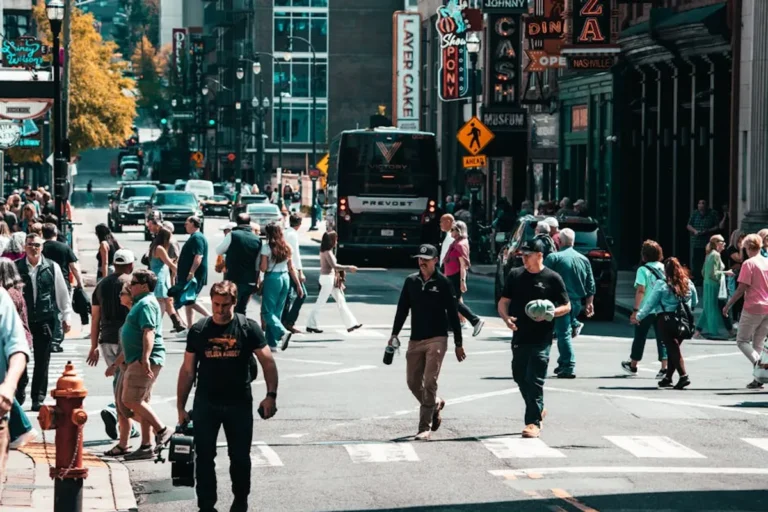
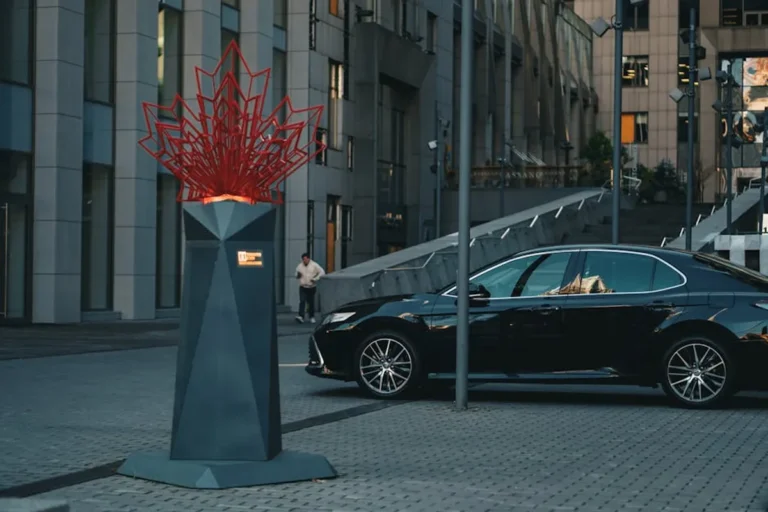
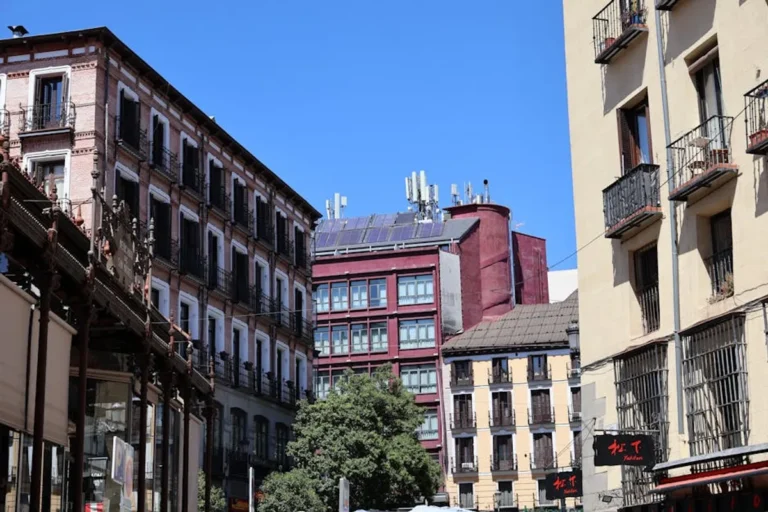
To convey the true grandeur of urban architecture, consider how to illustrate its scale. Including human figures, vehicles, or surrounding smaller structures can provide a sense of proportion. Juxtaposing old and new architecture within a single frame can also tell a story about urban development and time.
Lighting and Time of Day
Light is a sculptor, and its quality dramatically alters how architecture is perceived.
Golden Hour and Blue Hour
The periods shortly after sunrise and before sunset (golden hour) offer soft, warm light that highlights textures and casts long, dramatic shadows. The blue hour, just before sunrise or after sunset, provides a cool, ambient light that can make illuminated buildings glow against a deep blue sky.
Midday Challenges and Opportunities
Harsh midday sun creates strong contrasts and deep shadows, which can be challenging. However, this light can also be used creatively to emphasize abstract forms, graphic patterns, and the interplay of light and shadow on a building's surface. Look for reflections in glass facades during this time.
Night Photography of Architecture
Urban architecture transforms at night, illuminated by artificial light sources. Long exposures capture the glow of windows, streetlights, and even the trails of moving traffic, adding a dynamic layer to the static structures. Pay attention to white balance to accurately render the different color temperatures of urban lighting.
Post-Processing for Architectural Impact
Post-processing is an integral stage in architectural photography, allowing for refinement and enhancement that aligns with your artistic vision.
Enhancing Detail and Sharpness
Use tools for clarity, texture, and sharpening to bring out the intricate details of a building's facade. Apply these judiciously to avoid an over-processed look. Noise reduction is also critical for images taken in low light, maintaining clean lines and smooth surfaces.
Color Grading and Tonal Adjustments
Adjust white balance to ensure colors are true to life or to create a specific mood. Optimize contrast to give your images depth and impact. Strategic use of saturation can enhance architectural elements, while desaturation can create a more subdued or timeless feel. Converting to black and white can emphasize form, texture, and light without the distraction of color, often lending a classic, powerful aesthetic to architectural subjects.
Perspective Correction in Software
Even with careful shooting, minor perspective adjustments are often necessary. Utilize the transform tools in your editing software to correct any remaining converging or diverging lines, ensuring the building appears perfectly upright and geometrically accurate.
Pro Tip: Always be aware of your surroundings and local regulations. When photographing urban architecture, ensure you are in a public space or have explicit permission to photograph on private property. Respect privacy, especially when people are visible in your frame, and avoid obstructing public pathways or entrances. Ethical considerations are as important as technical ones.
Elevating Your Architectural Vision
Architectural urban photography is a blend of technical precision and artistic interpretation. By mastering your gear, understanding how light interacts with structures, and applying thoughtful compositional techniques, you can move beyond simply documenting buildings to creating images that convey their character, scale, and place within the urban fabric. Experiment with different angles, times of day, and post-processing approaches to develop a unique visual style that communicates your personal connection to the built world. The city is a vast, ever-changing canvas; your lens is the tool to capture its architectural soul.
Frequently Asked Questions
What is the most important lens for urban architectural photography?
A wide-angle lens (e.g., 16-35mm) is crucial for capturing the full scale of buildings and cityscapes. For professional results and eliminating perspective distortion, a tilt-shift lens is invaluable.
How do I prevent buildings from looking like they're falling backward?
This is known as converging verticals. The best way to prevent it is by using a tilt-shift lens. If you don't have one, try to photograph from a greater distance or a higher vantage point, and use post-processing software to correct the perspective.
What's the best time of day to photograph urban architecture?
The "golden hour" (shortly after sunrise or before sunset) and "blue hour" (just before sunrise or after sunset) offer the most flattering light, creating dramatic shadows and vibrant colors. Night photography also provides unique opportunities with artificial illumination.
Is it okay to photograph any building I see in a city?
Generally, you can photograph buildings from public spaces. However, be mindful of "no photography" signs, especially on private property or inside certain establishments. Always respect privacy and avoid creating obstructions.