Architectural photography demands precision, an understanding of light, and a keen eye for structure. Whether documenting properties for real estate listings, building a portfolio for design work, or creating visual assets for marketing campaigns, high-quality architectural images directly influence perception and commercial value. This guide outlines the core principles and techniques to capture buildings and spaces with professional clarity and impact, moving beyond simple snapshots to create compelling visual narratives.
Essential Equipment for Architectural Photography
The right tools provide the foundation for successful architectural photography, enabling the control necessary for sharp, distortion-free images.
Lenses: Perspective and Detail
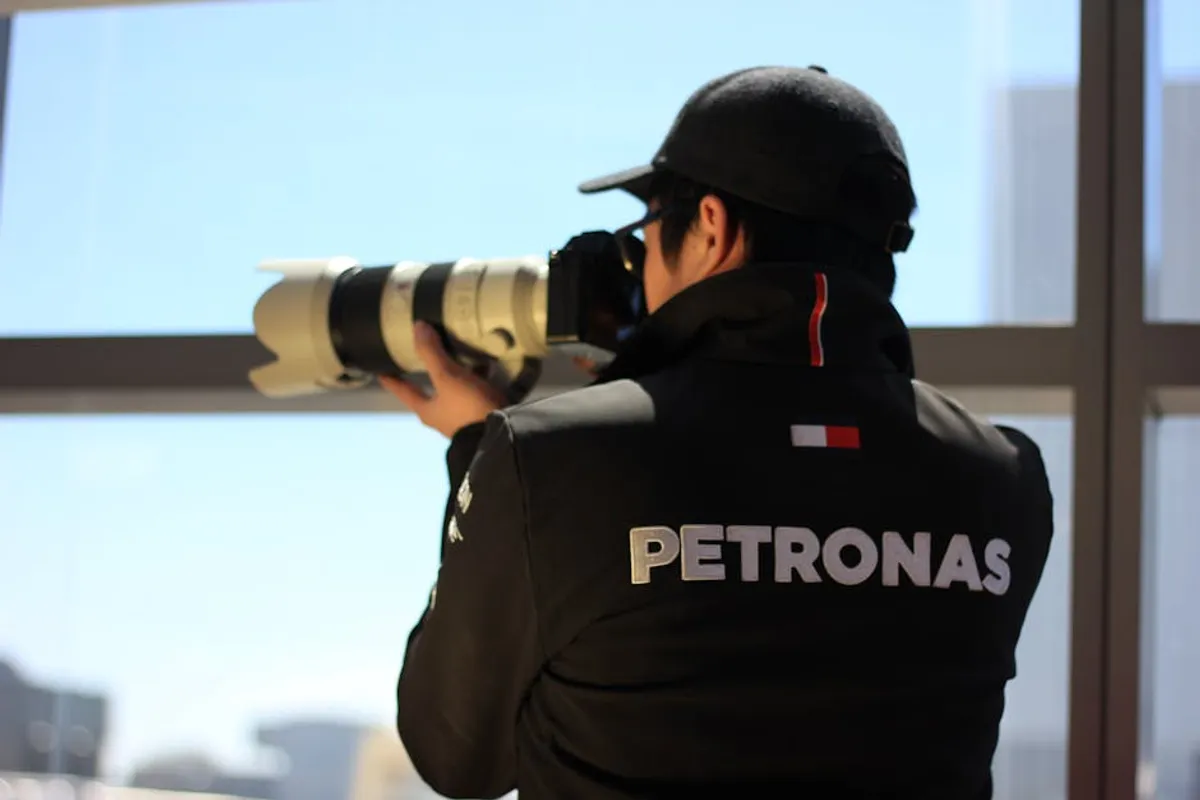
Selecting appropriate lenses is paramount for architectural work. Wide-angle lenses (e.g., 16-35mm on full-frame) are common for capturing expansive facades or interiors, but they introduce perspective distortion, causing vertical lines to converge. To counteract this, tilt-shift lenses are invaluable. These specialized lenses allow for optical perspective correction directly in-camera by shifting the lens relative to the sensor, maintaining parallel lines without digital manipulation that can degrade image quality. A standard prime lens (e.g., 50mm) can also be effective for isolating details or creating a more natural perspective on larger structures from a distance. The goal is always to render lines as straight and true as possible.
Tripods and Remote Releases: Stability and Precision
A sturdy tripod is non-negotiable for architectural photography. It ensures critical sharpness, especially in low light or when using smaller apertures (f/8 to f/16) for maximum depth of field. A heavy-duty tripod minimizes camera shake, allowing for longer exposures that capture detail without noise. A remote shutter release (wired or wireless) further eliminates vibration introduced by pressing the shutter button, ensuring the camera remains perfectly still during exposure. This precision is crucial for commercial applications where even minor blur can render an image unusable.
Mastering Composition and Perspective
Composition in architectural photography goes beyond basic rules; it involves a meticulous approach to lines, shapes, and the viewer's journey through the frame.
Lines, Symmetry, and Repetition
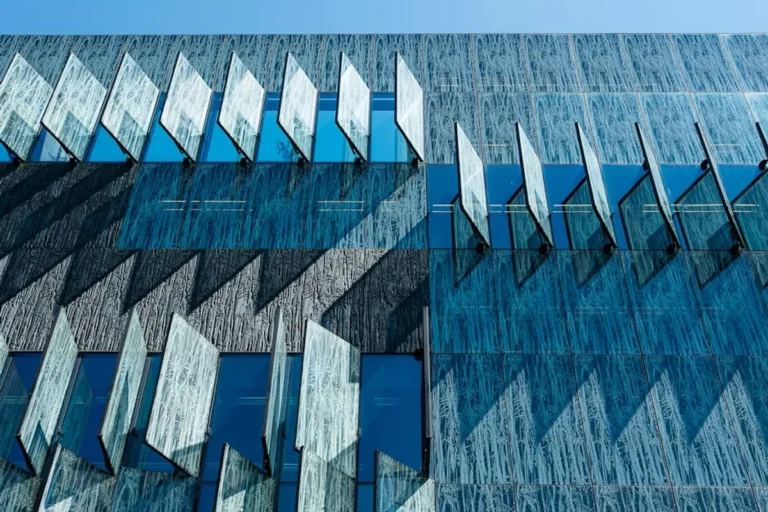
Buildings are defined by lines and geometric forms. Utilize leading lines (roads, pathways, structural elements) to guide the viewer's eye towards the subject. Symmetry often plays a significant role in architectural design; capturing it accurately can create powerful, balanced compositions. Conversely, breaking symmetry deliberately can introduce tension or highlight a specific feature. Look for repeating patterns in windows, bricks, or structural elements to add visual rhythm and depth, drawing attention to the craftsmanship and design.
Controlling Distortion and Verticality
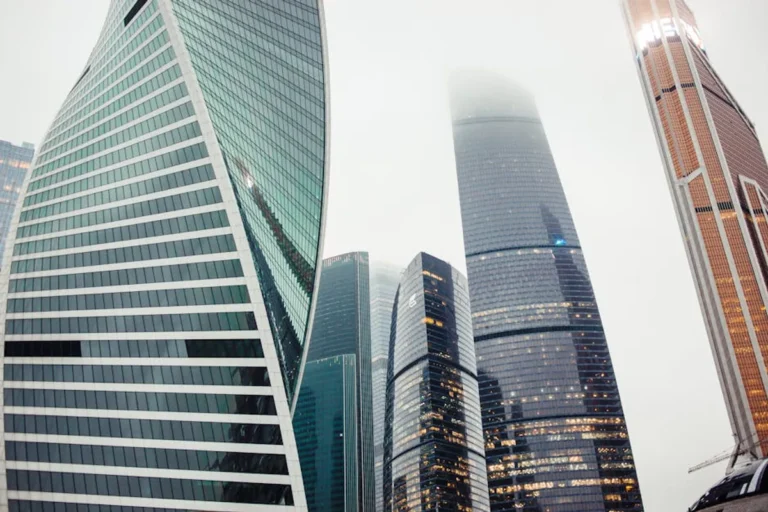
One of the biggest challenges is maintaining straight vertical lines. Without a tilt-shift lens, shooting from a low angle upwards will cause buildings to appear to lean inwards. To minimize this, try to photograph the building from a distance, at a height that aligns with the middle of the structure, or use a drone for elevated perspectives. When shooting interiors, ensure your camera is perfectly level to prevent walls and doorways from appearing skewed. Paying close attention to the horizon line and vertical axes in your viewfinder or live view is critical for a professional, un-distorted result.
Harnessing Light: Time of Day and Artificial Sources
Light sculpts architecture, revealing textures, forms, and mood. Understanding how to work with available light is essential.
Natural Light: Golden Hour and Blue Hour
The "golden hour" (shortly after sunrise and before sunset) casts warm, soft light that enhances textures and creates dramatic shadows, adding depth and dimension to facades. The "blue hour" (just after sunset or before sunrise) provides a cooler, ambient light where artificial building lights often begin to glow, creating a striking contrast between the deep blue sky and illuminated structures. Both periods offer unique opportunities to capture buildings with evocative atmospheres that are highly valued in commercial imagery.
Artificial and Interior Lighting
When photographing interiors, natural light from windows should be balanced with artificial light sources within the space. Use diffusers or reflectors to soften harsh light and fill shadows, creating an even exposure. For exterior night shots, consider how streetlights, interior lights, and dedicated architectural lighting interact. Long exposures can capture the glow of these lights, but careful metering is required to prevent blown-out highlights. Bracketing exposures (taking multiple shots at different exposures) is often necessary to capture the full dynamic range of scenes with mixed natural and artificial lighting.
Pro Tip: Always verify property access and photography permissions, especially for private residences, commercial buildings, or restricted areas. Unauthorized photography, particularly for commercial use, can lead to legal complications. When in doubt, seek permission in writing.
Post-Processing: Refining Your Architectural Shots
Post-processing is not just about correction; it's about enhancing the visual impact and ensuring the final image meets commercial standards.
Lens Correction and Straightening
Even with careful in-camera technique, minor lens distortions or perspective issues may remain. Software tools offer precise controls to correct barrel or pincushion distortion, chromatic aberration, and especially perspective. Use the vertical and horizontal guides in your editing software to ensure all lines are perfectly straight and parallel. This step is non-negotiable for a professional architectural image.
Color Grading and Detail Enhancement
Adjust color balance to ensure whites are neutral and colors are true to life, unless a specific creative effect is desired. Enhance contrast and clarity to make textures pop without over-sharpening, which can introduce artifacts. Carefully manage highlights and shadows to reveal detail in both bright and dark areas, ensuring no information is lost. Removing distracting elements like power lines, trash cans, or temporary signage can further clean up an image, presenting the architecture in its best possible light for commercial applications.
Elevating Your Visual Storytelling
Mastering architectural photography requires a blend of technical skill and artistic vision. By meticulously planning your shots, understanding the nuances of light, and leveraging post-processing tools, you can consistently produce images that not only document structures but also convey their essence and commercial appeal. Each photograph becomes an opportunity to highlight design, craftsmanship, and the unique character of a space, making your work invaluable for clients and portfolios alike.
Frequently Asked Questions
Q1: How do I avoid distorted lines in architectural photos without a tilt-shift lens?
A1: To minimize distortion, try to shoot from a level perspective, aligning your camera with the center of the building. Alternatively, increase your distance from the subject and use a longer lens to compress perspective. Post-processing software can also correct perspective distortion, though it may slightly crop the image.
Q2: What's the best time of day to photograph buildings?
A2: The "golden hour" (shortly after sunrise or before sunset) provides warm, soft light with long shadows that define architectural forms. The "blue hour" (just before sunrise or after sunset) offers a cool, ambient light perfect for showcasing illuminated buildings against a deep blue sky. Midday light can be harsh, creating strong, unflattering shadows.
Q3: How important is post-processing for architectural photography?
A3: Post-processing is critical. It allows for precise lens correction, perspective adjustments, color grading, and detail enhancement. These steps ensure sharp, straight lines, accurate colors, and overall visual polish, which are essential for professional and commercially viable architectural images.
Q4: Can I photograph any building I want for commercial purposes?
A4: Not always. While public buildings may be photographed from public spaces, private properties, certain commercial structures, or interiors often require explicit permission from the owner or management, especially if the images are intended for commercial use. Always check local regulations and property rights.